 exei使用
先把网卡插上再安装系统
遇坑:7.0 u1版本 后续安装离线驱动 提示host问题 之后重新安装6.7版本发现网卡是好了的
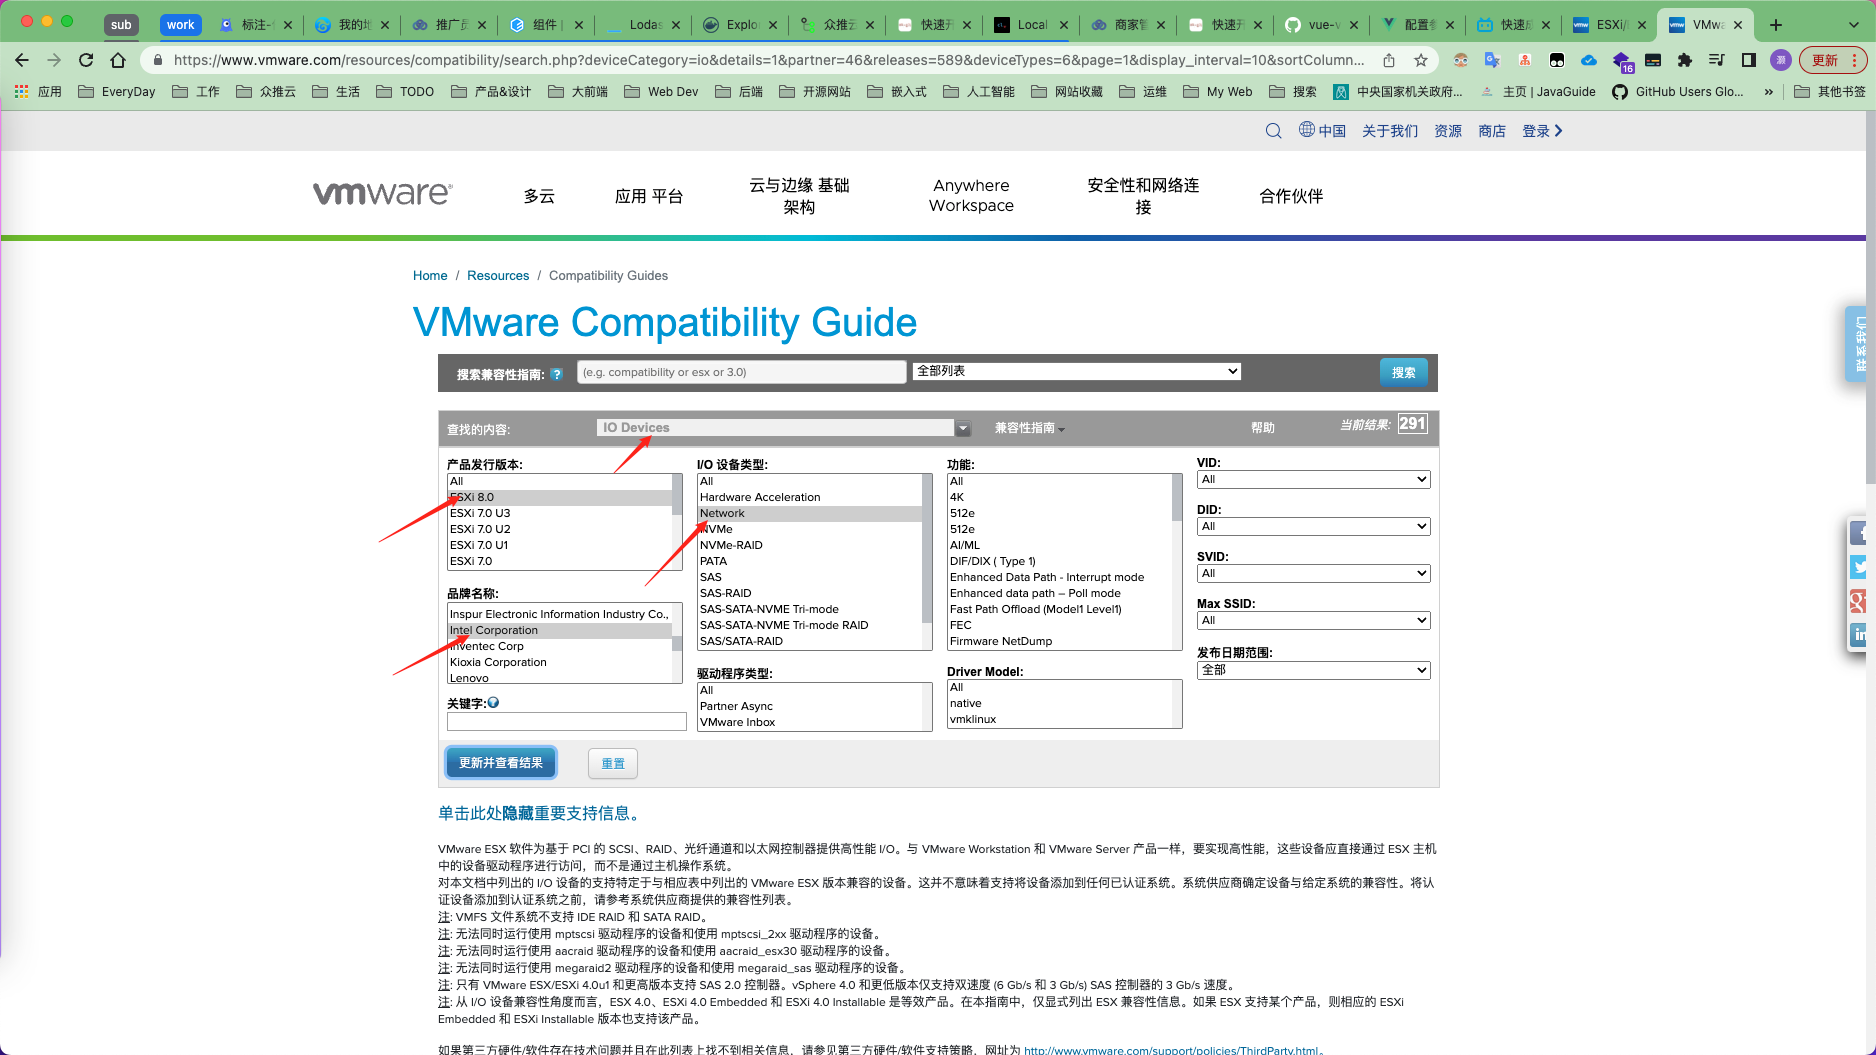
确认你的网卡是否支持esxi:https://www.vmware.com/resources/compatibility/search.php (opens new window) 
在安装esxi loading 的时候,迅速按下 shift + O,空格 autoPartitionOSDataSize=9999 有固态硬盘就安装在固态硬盘上
autoPartitionOSDataSize=999 密码:Izhaong164165005+
# 手动设置IP
启动后F2登录 进入网络管理 Network Adapters 物理网口管理 IPv4 Configuration 网络配置 IPv4 Address: 192.168.2.9 Subnet Mask: 255.255.255.0 Default Gateway: 192.168.2.1
远程登录:  ssh root@192.168.2.9
# 安装驱动
比如安装rtl8111网卡
在官网包中找到 https://vibsdepot.v-front.de/wiki/index.php/List_of_currently_available_ESXi_packages (opens new window)  如果你已经安装好了esxi 就安装下面的离线包,也可以使用上面一个一起打包成iso镜像包
我使用的下面的离线包
需要使用到window10 的 powershell
esxcli software component apply -d /vmfs/volumes/USB_Datastore/driver/net55-r8168-8.045a-napi-offline_bundle.zip 
esxcli software vib list查看安装的所有驱动
# 存储:
usb存储
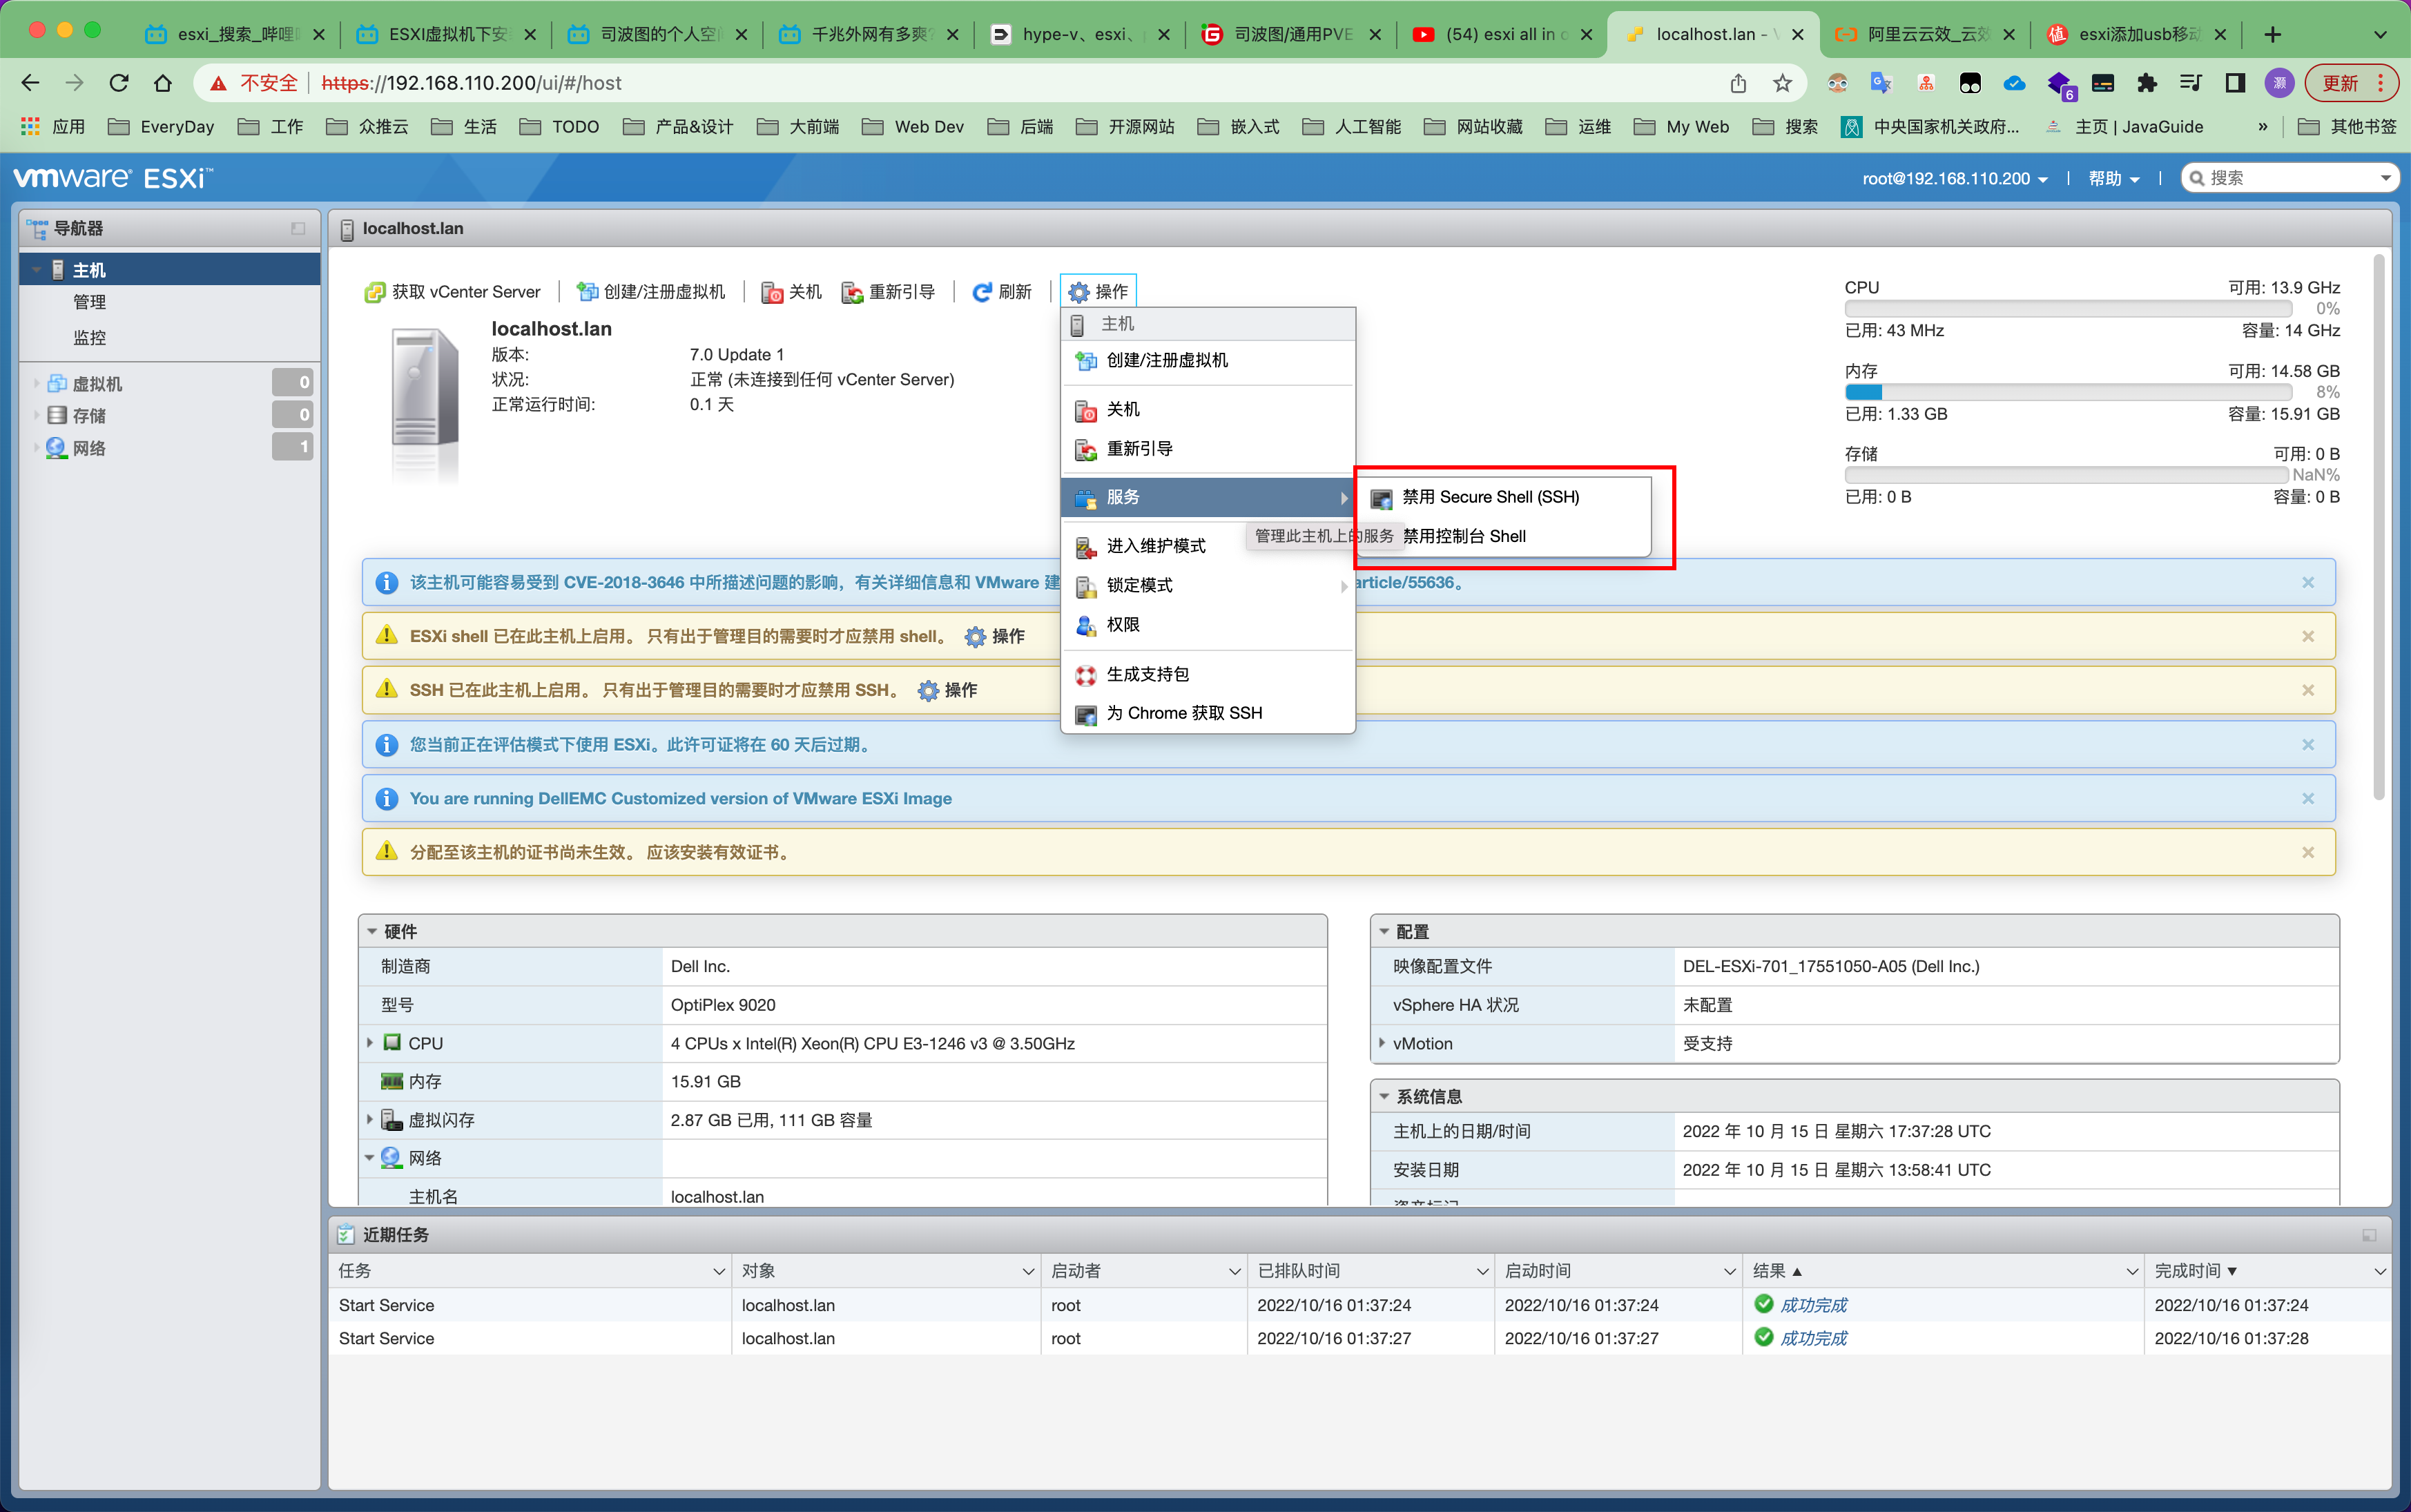
esxi 默认禁用 usb存储了
要从控制台访问 USB 存储和其他设备,请禁用 USB 直通。要检查 USB 的状态,请运行以下命令:chkconfig --list | grep -i usb 
chkconfig usbarbitrator off
接入usb硬盘
运行:esxcli storage core device list |grep -i usb就可以看到

# 硬件直通
esxi把硬件管理权限移交给虚拟系统
_直通网卡重启后依然提示“已启用/需要重新引导”的解决方法: 需要把_VMkernel.Boot.disableACSCheck 改为 true

- 开启混杂模式
# iKuai
2核
4G 预留4G 运存
8G 存储
pci添加 有几个口就添加几次
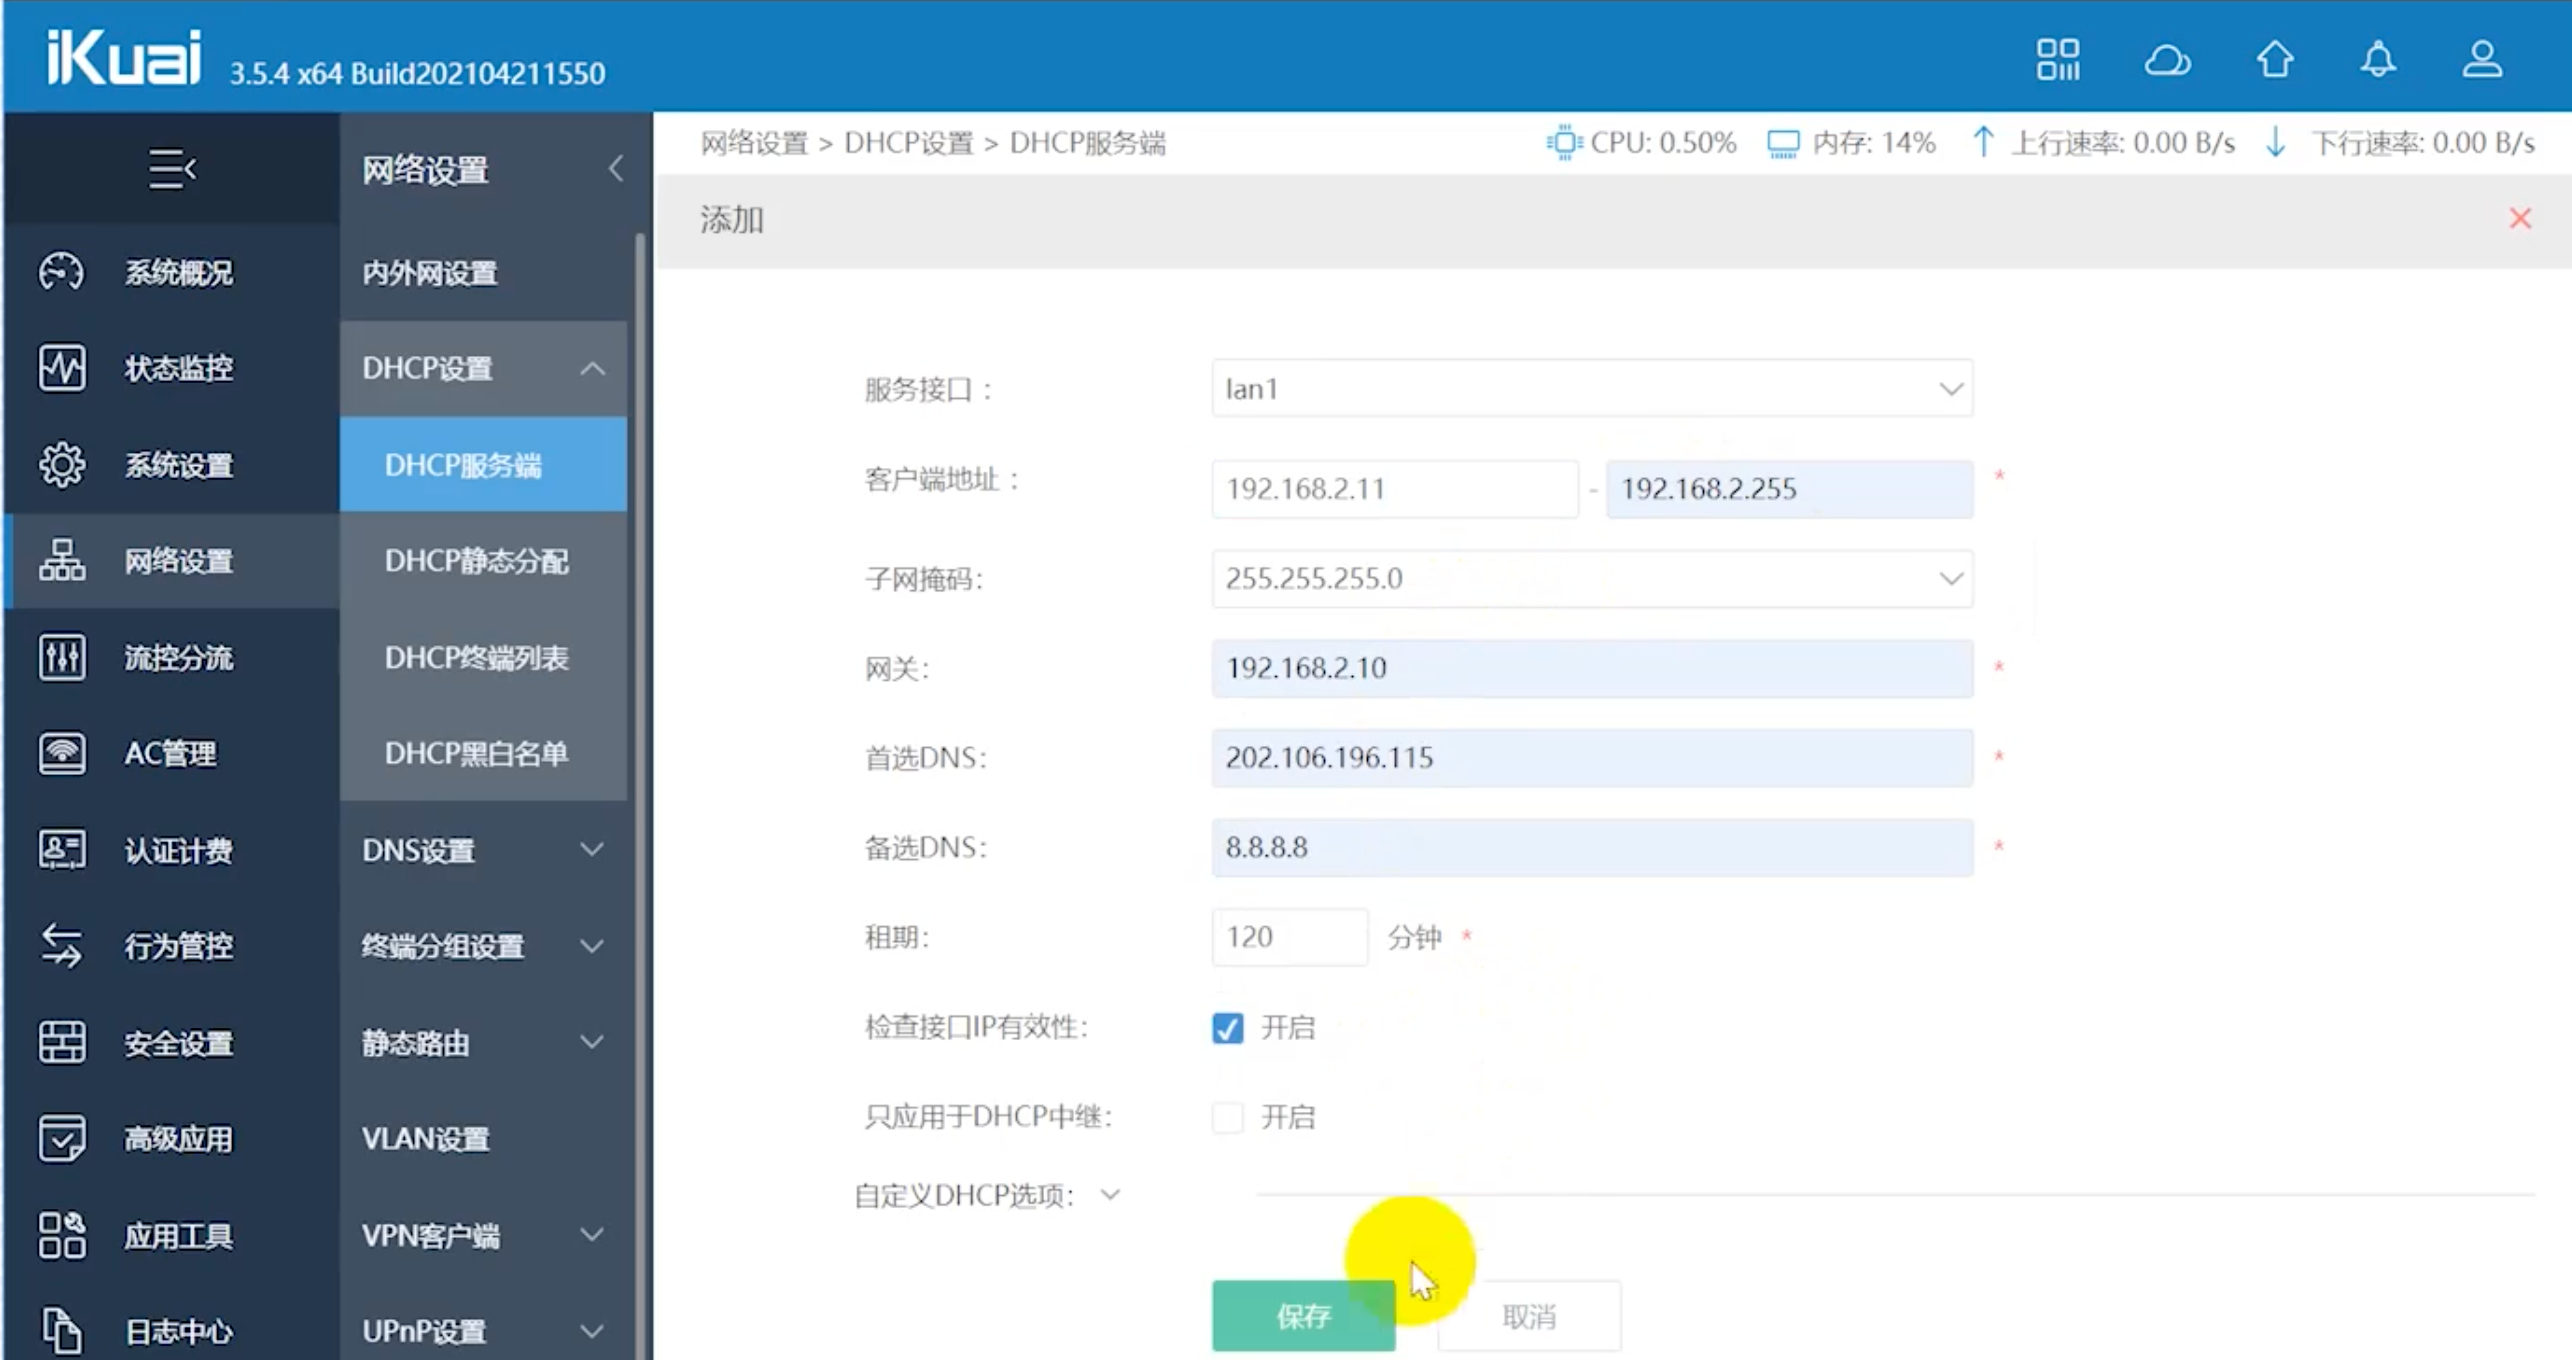
如图:

lan: 192.168.2.1 wan: PPOE 
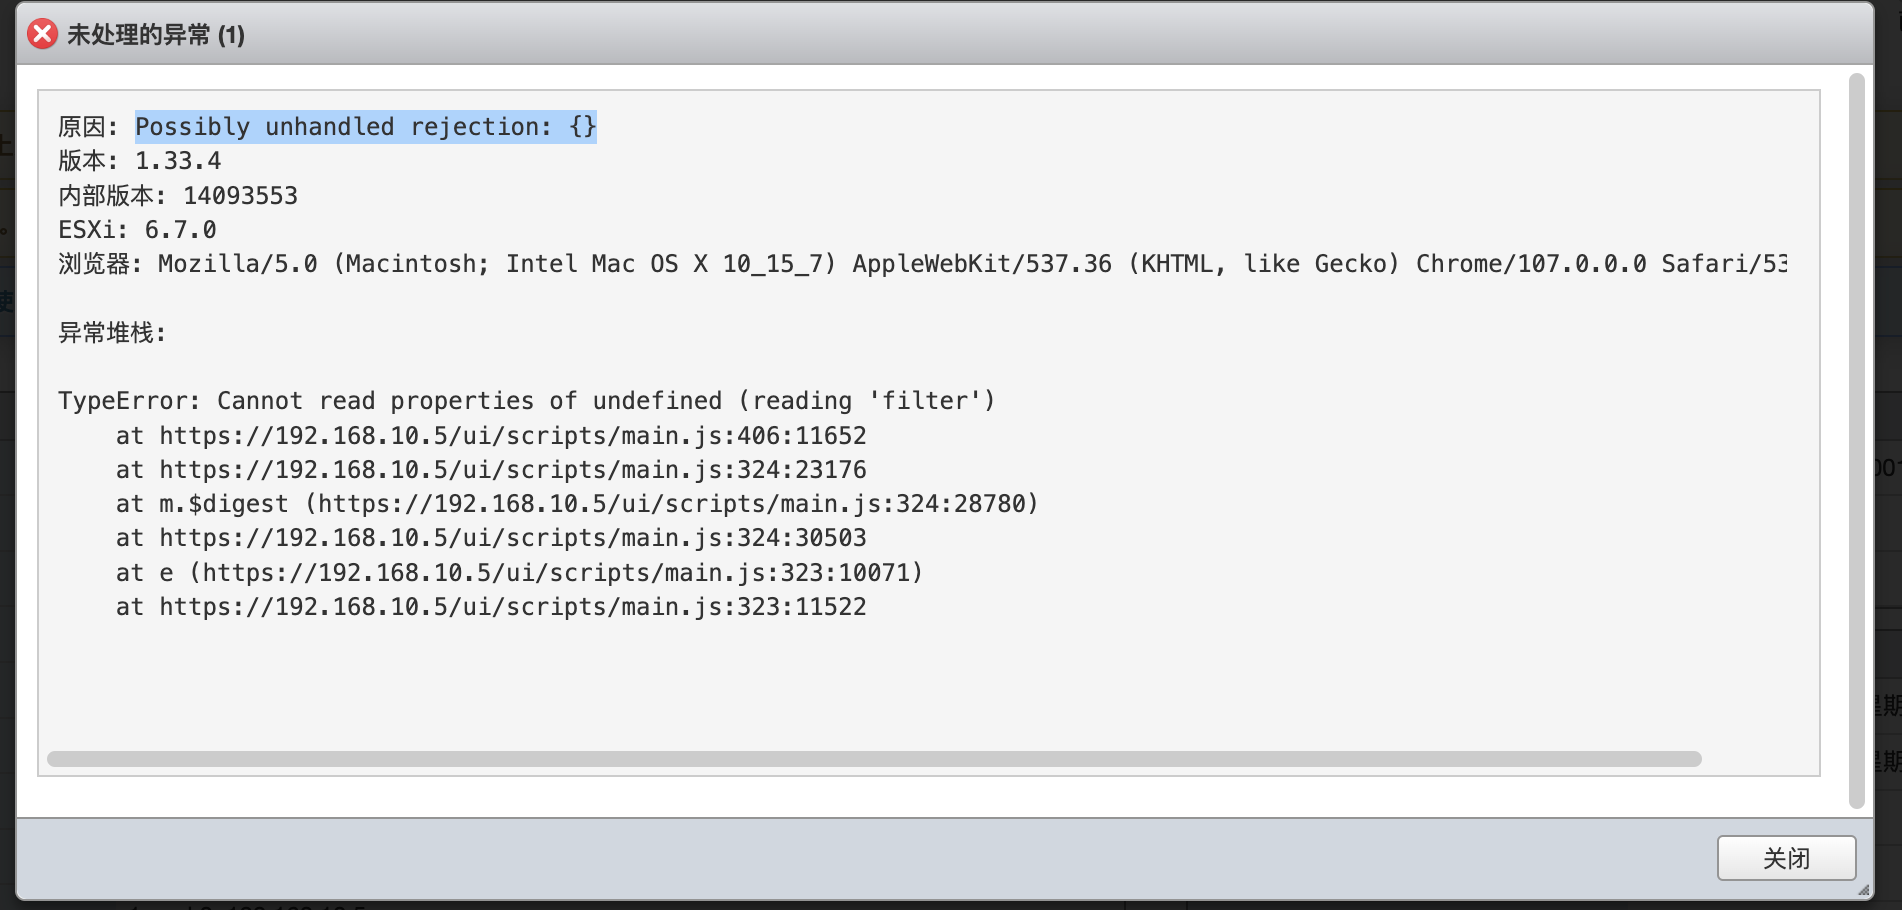
# 问题:

解决方法: 1.下载对应的6.x版本,https://labs.vmware.com/flings/esxi-embedded-host-client esxui-offline-bundle-6.x-12086396.zip
2.把包传到exsi存储,然后在exsi shell执行以下命令 esxcli software vib install -d “/vmfs/volumes/datastore1/esxui-offline-bundle-6.x-12086396.zip”
3.重启系统生效。
